No bake Reese peanut butter pie is a chocolate and peanut butter lover’s dream that takes only 10 minutes to prepare. This quick dessert features a creamy filling made with cream cheese, peanut butter, and chopped peanut butter cups, all set in a delicious Oreo crust. Perfect for parties and potlucks, we love how this pie can be made in advance and simply chilled until serving time. Additionally, the recipe calls for a total of 10 Reese’s Peanut Butter Cups, which can be chopped and mixed into the filling or used as a stunning topping. This indulgent treat certainly delivers on flavor while saving you time in the kitchen, and can be stored in the refrigerator for up to 5 days or frozen for up to 3 months. In fact, its convenience and irresistible taste make it one of our favorite go-to desserts when we need something impressive without the hassle of baking.
What You Need to Make This Pie
Gathering the right ingredients is the foundation of this irresistible no-bake dessert. Let’s dive into everything you’ll need to create this crowd-pleasing treat that perfectly balances creamy, sweet, and chocolatey flavors.
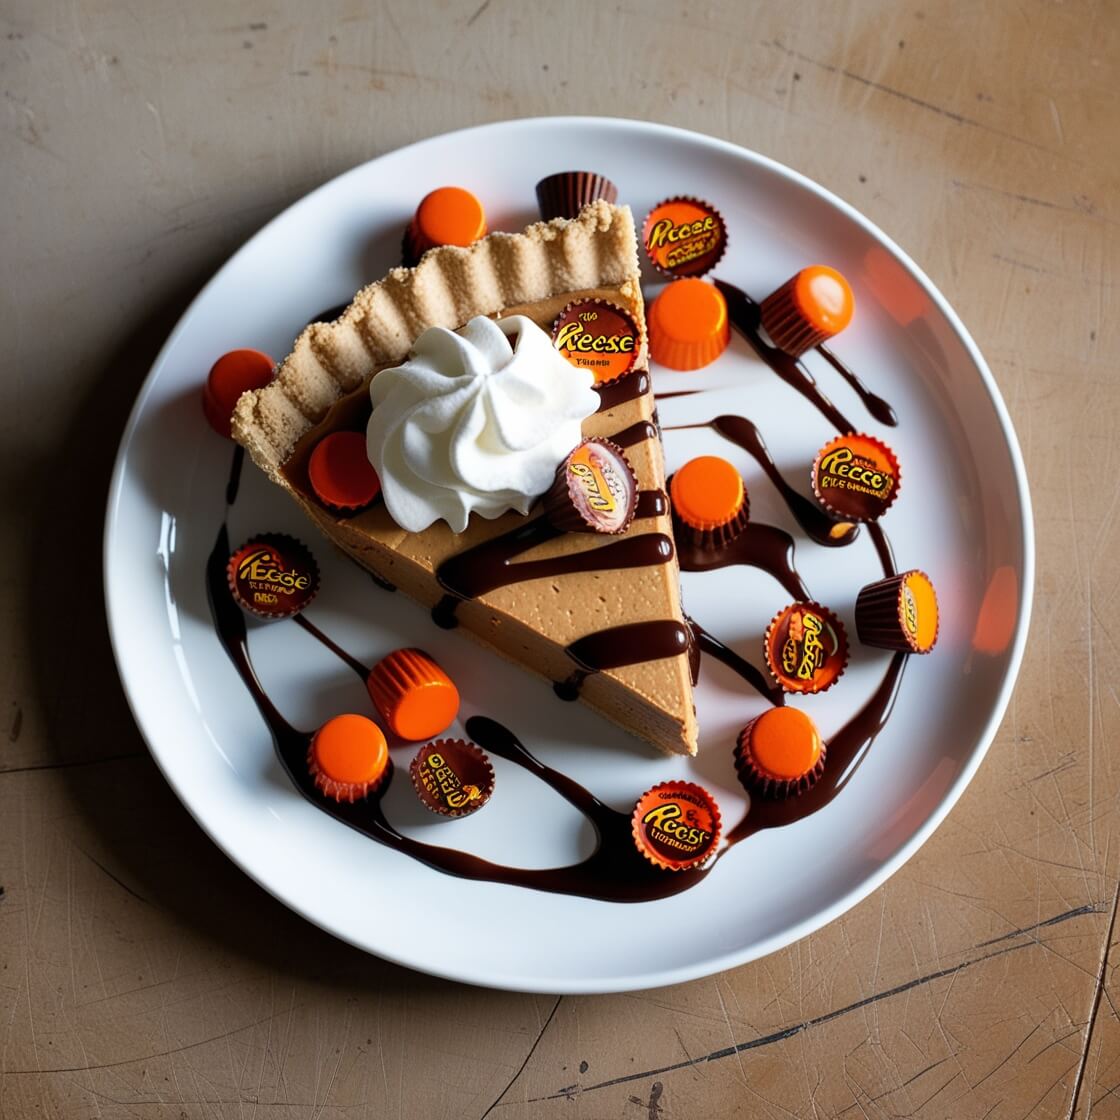
🌟 No Bake Reese Peanut Butter Pie – rich, creamy, and packed with peanut butter cups!
Creamy peanut butter and cream cheese
The heart of this no-bake Reese peanut butter pie is the smooth, luxurious base made from peanut butter and cream cheese. For best results, choose creamy peanut butter rather than chunky varieties to ensure your filling achieves that silky texture. Some recipes specifically recommend Skippy Natural, though any conventional creamy peanut butter works beautifully.
Make sure your cream cheese is properly softened before mixing—this is crucial for achieving a lump-free filling. The standard recipe calls for one 8-ounce package of cream cheese, which provides the perfect tangy counterbalance to the sweetness of the other ingredients. Furthermore, full-fat cream cheese delivers superior flavor and texture compared to reduced-fat alternatives.
Cool Whip or homemade whipped cream
You have options for the whipped component! Most recipes call for a 16-ounce container of Cool Whip (also known as frozen whipped topping), which provides stability to your pie filling. Cool Whip contains stabilizers that help the pie maintain its structure, especially important since this is a no-bake dessert.
Alternatively, you can make homemade whipped cream using heavy whipping cream beaten until stiff peaks form. Homemade whipped cream delivers a fresher taste, but remember it’s less stable than Cool Whip. To stabilize homemade whipped cream, consider adding a bit of cream of tartar or powdered sugar during whipping.
Reese’s peanut butter cups
The star attraction! You’ll need approximately 10 regular-sized Reese’s peanut butter cups for this recipe. These will be chopped and folded into the filling, creating delightful peanut butter cup surprises throughout each slice.
A helpful tip: chill your Reese’s cups before chopping to prevent them from becoming too soft and messy. Moreover, you might want to reserve a few extra cups for decorating the top of your pie for that picture-perfect presentation.
Pie crust options: Oreo, graham cracker, or Nutter Butter
Your pie crust selection adds another dimension of flavor:
- Oreo crust – The chocolate cookie base complements the peanut butter filling beautifully. You can purchase pre-made or create your own by crushing Oreos with melted butter.
- Graham cracker crust – A classic option that offers a more neutral base for the filling to shine.
- Nutter Butter crust – For serious peanut butter enthusiasts, this option intensifies the peanut butter flavor throughout.
Regardless of which crust you choose, a 9-inch pie plate is the standard size for this recipe. Pre-made crusts save time, although homemade versions often deliver superior flavor and texture.
How to Make No-Bake Reese Peanut Butter Pie
Creating this delicious no-bake dessert is surprisingly simple with just a few straightforward steps. Once you’ve gathered your ingredients, you’ll be amazed at how quickly this pie comes together.
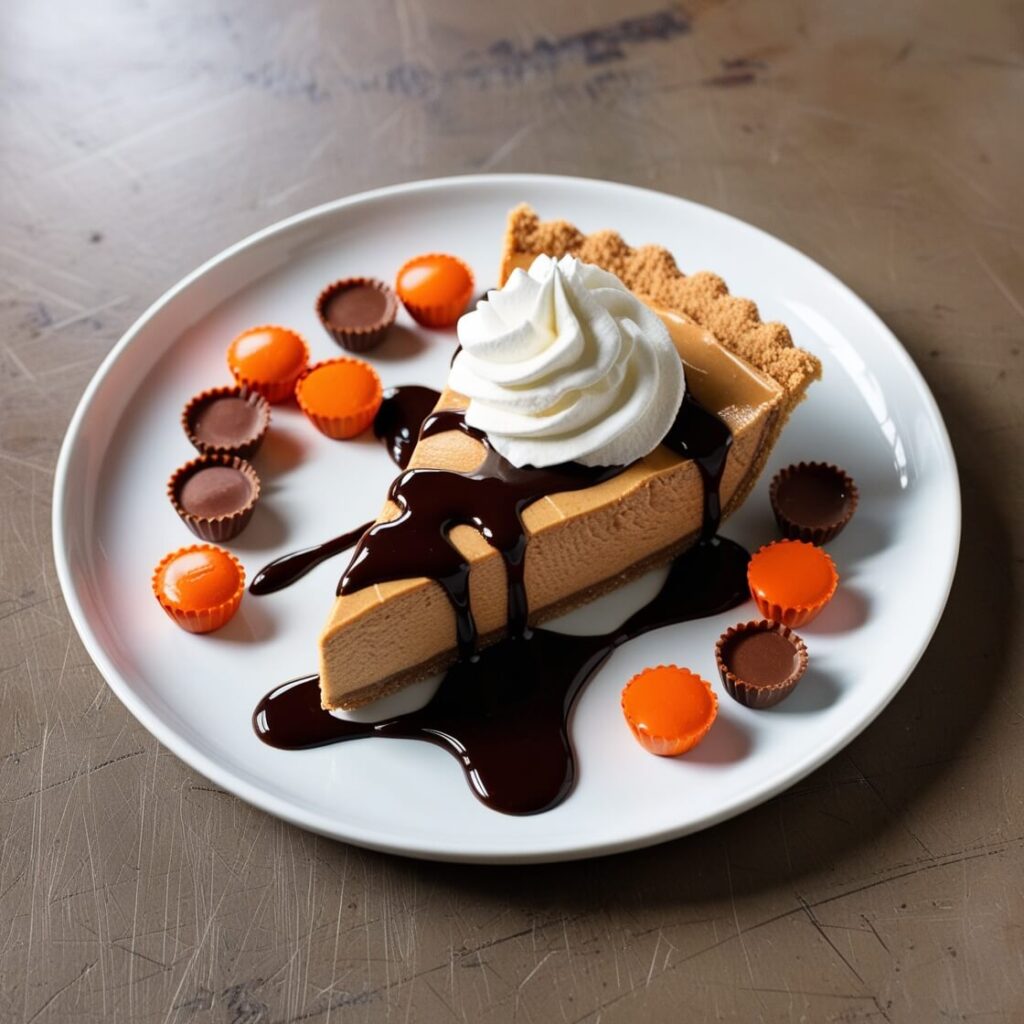
💡 A decadent dessert that’s dangerously easy to make – no oven required!
Step 1: Beat cream cheese and peanut butter
Start with properly softened cream cheese—this is crucial for a smooth, lump-free filling. In a large mixing bowl, combine the cream cheese and peanut butter. Using an electric mixer, beat these ingredients together until the mixture becomes light and fluffy. This typically takes about 3 minutes of continuous mixing. Make sure to scrape down the sides of the bowl occasionally to ensure everything is well incorporated.
Step 2: Add powdered sugar and mix
Next, add the confectioners’ sugar to your peanut butter-cream cheese mixture. Initially, mix on low speed to prevent a sugar cloud, then increase to medium speed. Continue beating until the mixture is completely smooth and well combined. The sugar not only sweetens the filling but also helps stabilize the texture.
Step 3: Fold in whipped topping
Subsequently, it’s time to add your whipped topping. If using Cool Whip, ensure it’s properly thawed. Gently fold the whipped topping into your peanut butter mixture rather than beating it in. This preserves the air in the topping, resulting in a lighter, fluffier pie filling. Use a spatula and a gentle under-and-over motion until the mixture is uniform in color.
Step 4: Stir in chopped Reese’s cups
Chop your Reese’s peanut butter cups into small pieces—chilling them beforehand makes this task much easier. Reserve some chopped pieces for garnishing if desired. Gently stir the chopped peanut butter cups into your filling mixture using a spatula or spoon. Fold just until they’re evenly distributed throughout the filling.
Step 5: Spread into crust and chill
Finally, pour your completed filling into your prepared pie crust. Using an offset spatula or the back of a spoon, carefully spread the filling evenly to create a smooth, level surface. For best results, refrigerate the pie for at least 2 hours before serving, although overnight chilling will yield the firmest texture. This waiting period allows all the flavors to meld together perfectly.
Tips for Perfect Results Every Time
Making the perfect no-bake Reese peanut butter pie requires attention to a few key details. Even experienced bakers can improve their results by following these simple yet effective techniques that guarantee a deliciously smooth and well-set dessert every time.

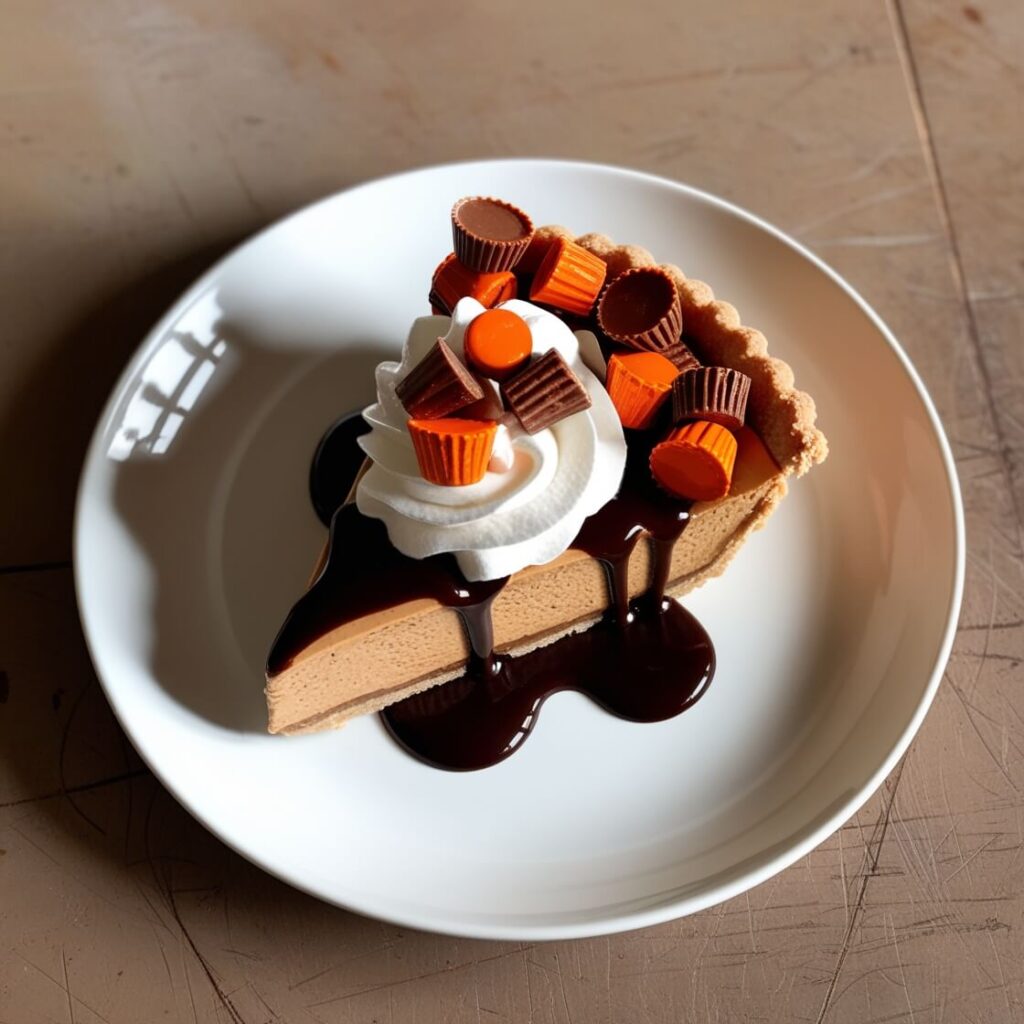
🔍 Layers of chocolate, peanut butter, and whipped cream – pure indulgence.
Soften cream cheese before mixing
Properly softened cream cheese is essential for achieving that silky-smooth filling without frustrating lumps. The simplest method is allowing your cream cheese to sit at room temperature for 30 minutes to an hour. Alternatively, speed up the process by cutting the block into small cubes, which reduces softening time to about 20-30 minutes. For those in a rush, place the sealed package in warm (not hot) water for 10-15 minutes. If using the microwave method, unwrap the cream cheese, place on a microwave-safe plate, and heat in 5-second intervals on 50-75% power, turning the block between each interval—this typically takes 20-25 seconds total. Remember that improperly softened cream cheese is the primary cause of lumpy filling!
Chill Reese’s cups for easier chopping
Undeniably, room-temperature peanut butter cups become messy when chopped. Accordingly, place your Reese’s cups in the refrigerator for about 30 minutes before cutting them. This simple step keeps the chocolate from melting on your hands and knife, resulting in cleaner, more defined pieces throughout your pie. A cold knife further helps achieve those perfect chocolate chunks instead of smears.
Use a hand mixer for smoother texture
Henceforth, consider your mixer an essential tool for this recipe. A hand mixer creates that perfectly smooth, lump-free texture that’s impossible to achieve by hand. Nevertheless, be mindful of mixing speeds—start slow when incorporating powdered sugar to avoid a kitchen dusted with white powder. Beat the cream cheese until genuinely light and fluffy before adding other ingredients. For best results, follow the mixing order in the recipe precisely, as adding ingredients in the wrong sequence can affect the texture.
Let the pie chill for at least 2 hours
Patience yields perfection! Allow your pie to chill in the refrigerator for a minimum of 2-4 hours before serving. Indeed, many bakers recommend overnight refrigeration for the firmest, most sliceable texture. The chilling period lets all flavors meld together while allowing the filling to set properly. For clean slices, run your knife under hot water and wipe dry between cuts.
Fun Variations and Toppings to Try
What’s amazing about this no-bake Reese peanut butter pie is how easily you can customize it to match your taste preferences or create an even more impressive dessert for special occasions.
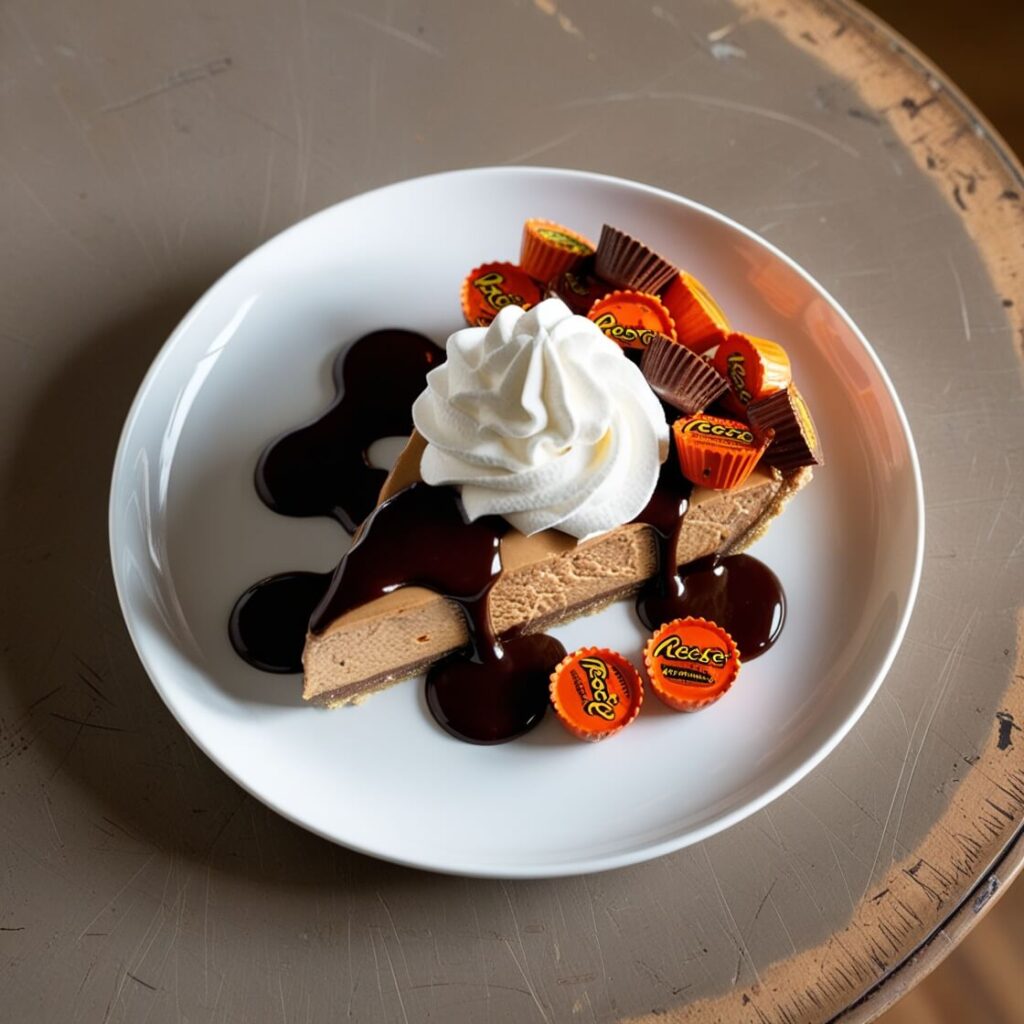
🎯 Reese’s lovers, this no bake peanut butter pie is your dream dessert!
Add a layer of hot fudge before the filling
For an extra indulgent twist, consider adding a hot fudge layer beneath your peanut butter filling. To accomplish this, reserve about 2 tablespoons of hot fudge topping in a resealable bag for later decoration. Meanwhile, warm the remaining hot fudge according to package instructions until it’s smooth and pourable. Subsequently, spread this warmed fudge evenly over your pie crust before adding the peanut butter filling. Once the layers are set, you can use the reserved hot fudge to create decorative drizzles across the top of your finished pie.
Top with extra whipped cream and candy
Elevate your pie’s appearance by adding a generous layer of whipped cream on top. Plus, this gives you a perfect canvas for additional toppings. Beyond chopped Reese’s cups, consider garnishing with graham cracker crumbs, chocolate shavings, flaky sea salt, or even a light dusting of powdered sugar. Correspondingly, you might also drizzle melted peanut butter in decorative patterns across the top for a professional-looking finish.
Try different candy bars like Snickers or Butterfinger
Despite the name, this pie works wonderfully with various candy substitutions. M&Ms, Milky Way, 3 Musketeers, or Snickers can all replace Reese’s cups for unique flavor variations. Alternatively, you could use a combination of different candies for a truly extraordinary dessert experience. Even removing the candy altogether still results in a delicious, smooth peanut butter pie.
Use chunky peanut butter for texture
Whereas most recipes call for creamy peanut butter, using chunky peanut butter adds an interesting textural element. However, be aware that chunky varieties may create a slightly drier, more crumbly texture in your finished dessert. As a compromise, consider using smooth peanut butter in the filling but garnishing the top with chopped peanuts to add that desirable crunch without surprising your guests.
Conclusion
This no-bake Reese peanut butter pie truly stands as the perfect solution for dessert lovers seeking something quick yet impressive. Most compelling evidence shows that with just 15 minutes of prep time and a few simple ingredients, anyone can create this indulgent treat. We love how this dessert combines the rich flavors of creamy peanut butter, smooth cream cheese, and chocolate without requiring any actual baking.
Regardless of your chosen crust—Oreo, graham cracker, or Nutter Butter—the result remains consistently delicious. Additionally, the numerous variations we’ve discussed allow you to customize this pie exactly to your preferences, whether adding hot fudge layers or experimenting with different candy toppings.
Perhaps the greatest advantage of this dessert lies in its make-ahead potential. Chilled properly for at least 2 hours, this pie develops even better flavor over time while maintaining its structure. This makes it perfect for busy households or last-minute entertaining needs.
Above all, this no-bake Reese peanut butter pie delivers that magical combination of simplicity and decadence that we constantly seek in desserts. Give this recipe a try next time you need something sweet without the hassle of baking—your friends and family will certainly ask for seconds!
About HealthyBlog365
Welcome to HealthyBlog365, your go-to destination for all things food and drink. We believe that every meal is not just a way to nourish your body but also a meaningful connection with yourself and your loved ones.
HealthyBlog365 was created with a mission to inspire healthy living through nutritious meals and refreshing beverages. Here, you’ll discover a treasure trove of creative recipes, kitchen tips, and healthy eating trends tailored to fit modern lifestyles.
 What can you find on HealthyBlog365?
- Delicious and easy-to-make recipes: From simple meals for busy mornings to wholesome dinners for family gatherings, we’ve got you covered for every occasion.
- Nutritious drinks: Explore recipes for juices, smoothies, detox teas, and drinks that cleanse your body, boost your mood, and energize your day.
- Guides on eating habits: Get detailed insights into popular diets like keto, low-carb, and vegetarian-friendly meal plans.
- Kitchen hacks: Discover smart tips to save time, preserve food, and cook more efficiently.
We are committed to providing high-quality content, staying up-to-date with the latest trends, and maintaining a balance between nutrition and flavor.
 Connect with HealthyBlog365 on Social Media
Join the HealthyBlog365 community on social media platforms to stay updated with our latest posts, watch exciting tutorials, and share your food stories with us:
 Facebook: Follow us here to stay updated with our latest posts and join our community.
 Instagram: Check us out here for inspiring visuals and ideas.
 Pinterest: Pin with us here to save creative ideas you’ll love.
 YouTube: Subscribe here for detailed tutorials and exciting videos.
 Thank You for Supporting HealthyBlog365!
We aim to build a connected community where everyone can share and learn from each other. If you have any questions or suggestions, don’t hesitate to reach out to us via social media or our website.
We hope you have a wonderful time on HealthyBlog365 and find new inspiration for your healthy culinary journey!